
Sending Jira release notes has always been a hard task. But trying to make it easier and faster has also been a lot of work. Even though Jira is a strong tool for managing projects, it surprisingly doesn’t have a specific tool for release notes. This gap has caused teams to handle processes by hand, taking up precious time and work that could be used differently.
You work hard to write release notes that are clear and accurate. You want to tell your users what’s new and improved in your software. But it takes so much time and effort to do it right. Every time you release an update, you have to write everything from scratch. It slows down your release cycle, makes you less efficient, and delays your updates. Also, you know that different people want to know different things about your software updates. Your executives want to see the big picture, while your engineers want to see the technical details. Wouldn’t it be nice if you could automate this process and save yourself some trouble?
We have a solution that will make your life easier if you use Jira. A tool that can create release notes for you automatically, without any manual work. Think of how much time you could save and how many problems you could solve with a fast and easy release notes system.
The Jira Release Notes plugin is a tool designed to automate the release notes process in Jira. One of the best features of the plugin is that it can send release notes automatically when certain events happen. You can choose to send release notes when you finish a sprint, when you release a new version in Jira, or when you schedule a date for release notes. The plugin lets you decide how you want to do it.
With the Templates feature, you can create templates that look exactly how you want them to. You can use the easy-to-use editor to make templates that match your company’s style. You can also make different templates for different kinds of release notes and different people. This way, you can communicate better with your audience and meet their needs and expectations.
Let’s walk through the plugin and demonstrate how easy it is to send release notes of completed tickets when a sprint is finished.
Install the plugin
Notice
To start your journey with Jira Release Notes, go to the plugin page and click “Try it free“. This will start your trial period.
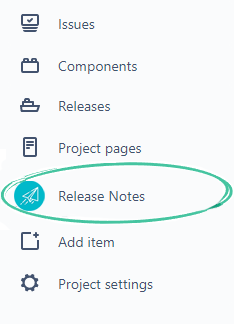
You did it! You installed the plugin successfully and it’s ready to use. To find the plugin, look for it on the left side of Jira and start using it.
Create Setup
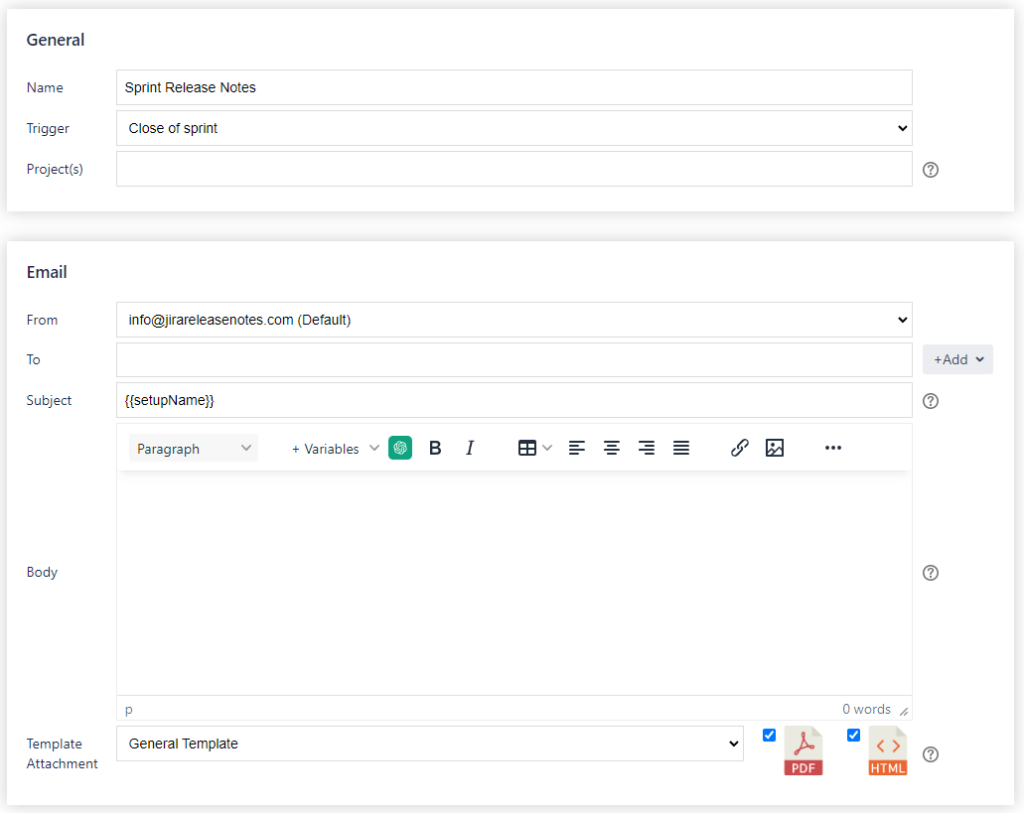
To start using the Jira Release Notes plugin, you should create a Setup. The Setup is a set of rules for sending release notes automatically. Each setup has a name, a trigger (which is something that happens in Jira that makes the release notes go out), email settings, and integration sections. Enter the name “Sprint Release Notes” (you can later refer to the setup by using the {{setupName}} variable in other areas of the plugin). Choose “Close of sprint” from the Trigger dropdown. This selection ensures that whenever any sprint is completed in Jira, this setup will be executed. Additionally, you have the option to select the Jira project if necessary.
Moving on to the next section, let’s focus on “Email”. Pay attention to the “Template Attachment” — here, you choose a template that will be attached to the release notes email. The default option is the “General Template”. Keep it there. Now create the Setup.
Release Notes Template
Now, as we have retained the “General Template” in the created setup, let’s customize this template to align it with the requirements of sprint release notes.
Templates have a powerful tool called JQL Block. JQL Block represents a simple data table. The purpose of the JQL Block is to retrieve Jira issues by using JQL query and fill up the table. The power of JQL Block is that you can specify what issue fields to display in the table, or you can use variables like {{sprint}} in JQL query to make it dynamic.
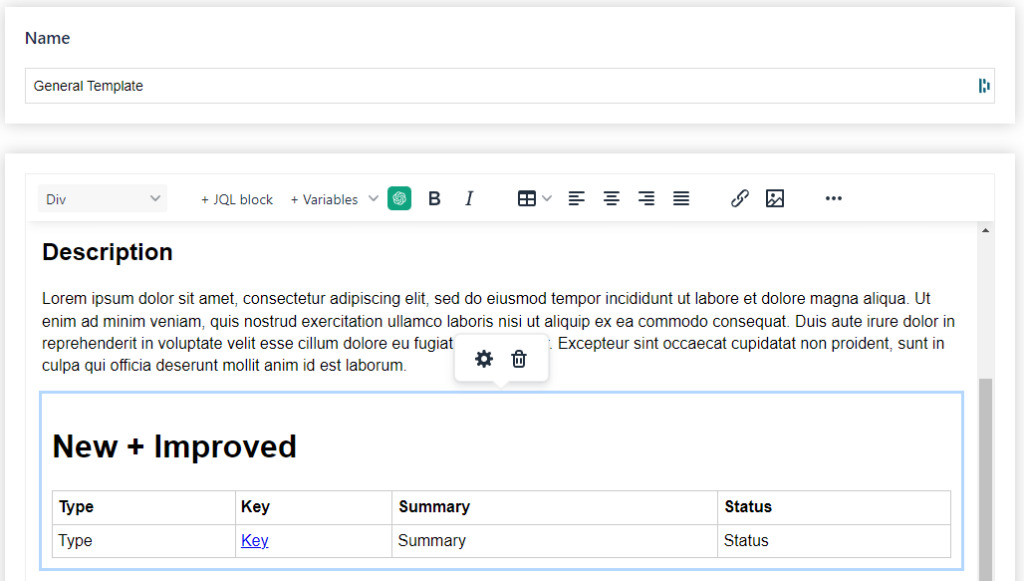
Now, let’s modify the settings of the first JQL Block in the template, or you can add a new one. To adjust the settings, select the block, and then click on the cog icon. You’ll notice settings such as Title, Fields, JQL Query, and Empty Block. We can now go through each tab to fine-tune the block according to your needs.
JQL Block title
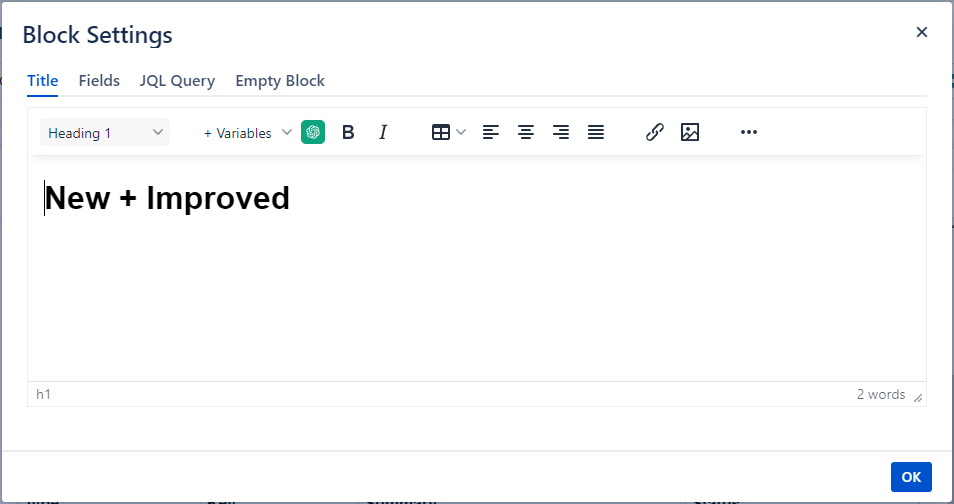
Provide a title for the list of Jira issues. For instance, if you use “New + Improved”, it could indicate a list of stories focused on new features or improvements.
JQL Block Fields
This section specifies which Jira issue fields will appear on the table. Here, you can add, delete, or rearrange the fields as needed.
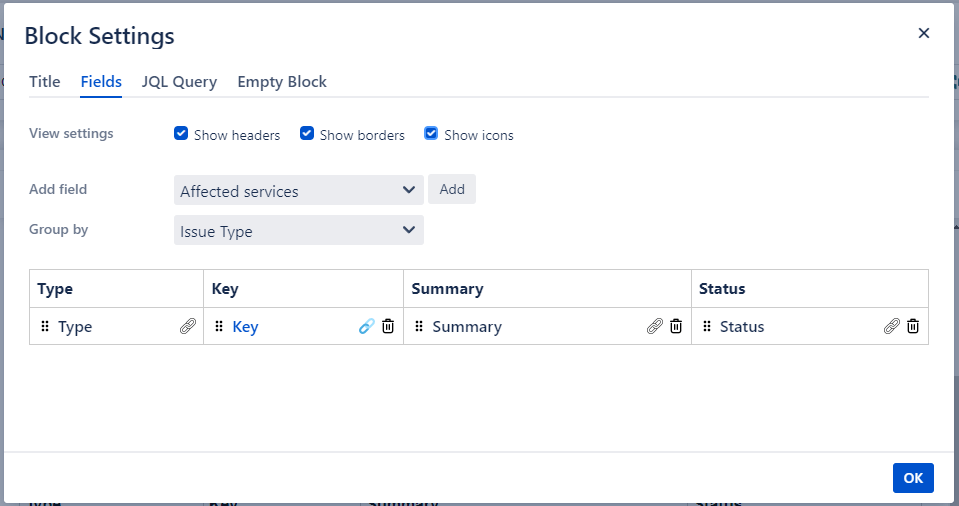
JQL Block JQL Query
In this section, you need to specify the JQL Query, which will be used to retrieve the list of Jira issues. The most powerful aspect of this section is the use of variables.
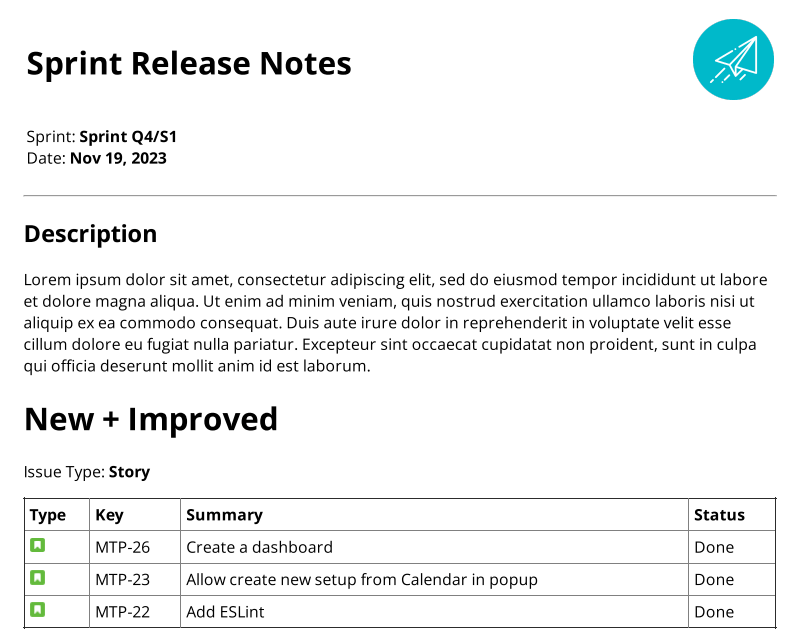
Now, let’s revisit the idea of sending completed Jira issues when the sprint is completed. This means our JQL Query should fetch issues with the type=Story since this block displays “New + Improvement”, the issue status should be “Done” and the issue sprint should match the closed sprint. Taking all these factors into account, our JQL query will look like this:type=Story AND Status=Done AND sprint="{{sprint}}" ORDER BY issuetype DESC{{sprint}} will be replaced by the actual name of the closed sprint.
Now, save the JQL Block settings and the template. It’s time to test everything together.
Sending release notes
Now, let’s say we have the sprint “Sprint Q4/S1” with three tickets marked as “Done” and one “In Progress”.
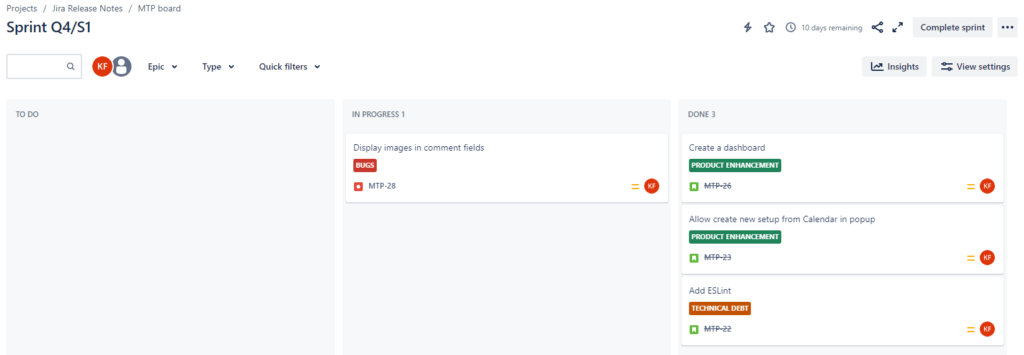
After clicking on “Complete Sprint”, Jira triggers the Jira Release Notes plugin, sharing comprehensive details about the closed sprint. This communication enables the plugin to recognize and execute the setup, and replace the {{sprint}} variable with the actual sprint name in the JQL query. Finally, you will receive generated release notes with three Jira tickets in the list.
Conclusion
“In this article, we aim to showcase a common challenge in Jira and how the Jira Release Notes plugin can resolve it. We hope you find this demonstration helpful. For more information about other features of the plugin, please visit jirareleasenotes.com. You can install the plugin and take advantage of a 30-day trial period to explore all the benefits tailored to your personal or company needs.


